§ Phase 3 — finishing (continued.)
5/27/09
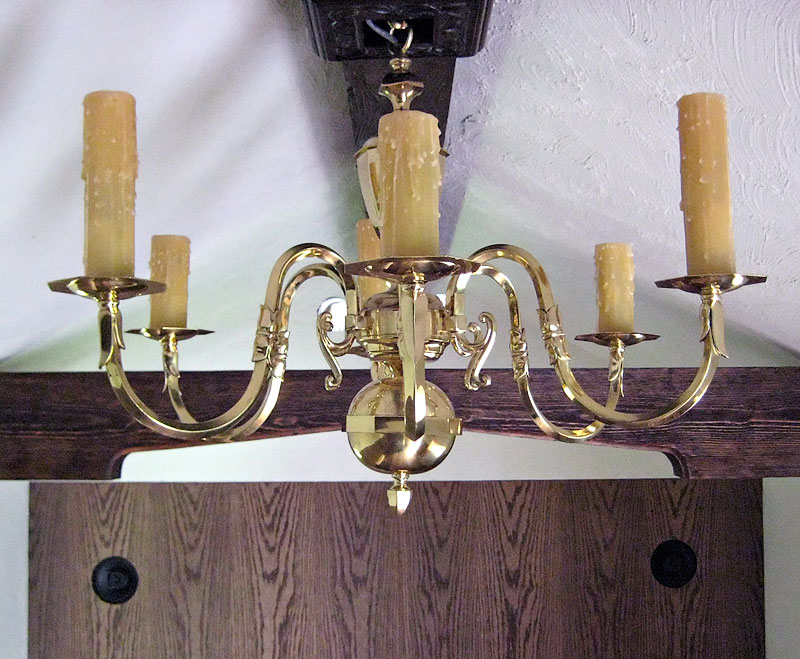
It rained last night, and continues to do so today in a noncomittal fashion, neither in raging torrents nor simpering whispers. What a perfect day to document some of the ancillary, rainy-day projects. Here you can see the bulk of a brass chandelier I picked up at a local antique shop for about $40. With a bit of expert assistance from Kenhelm, it was disassembled, cleaned (though not so vigorously as to remove the clear-coat,) and the tubes re-wired with some Cat-5 ethernet cable I had lying around.
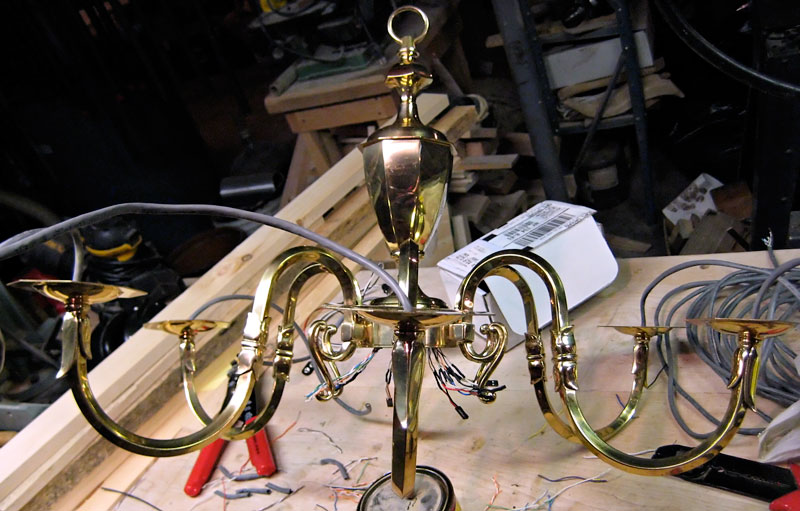
Ok, so it’s a little on the colonial side. The period ones I’ve seen with this basic silhouette tend to have arms made of flat-stock with pierced-work. Honestly, this was cheaper, faster, and made it much easier to hide the wires. Besides, I actually prefer the look. Call it artistic license.
So, you may be wondering why I had KH rewire it with Cat-5? I need a total of six conductors per bobeche, because it’s going to be supporting 15, 1-watt, super-bright, warm-white LEDs driven by a candle-flicker circuit (shown in the picture below.) Each arm will have either 2 or 3 flickering LEDs glowing their little arsenides off in a resin candle-sleeve made to look like beeswax.

Honestly, is there anything microcontrollers can’t do nowadays? The circuit board is extremely tiny, and can operate on anywhere from 6-30 volts. When all is said and done, I will probably be able to power the entire thing from a 9-volt battery. Thankfully, I will not need to.
The pins jutting up are just your basic computer motherboard connectors, so in the next picture you can see my internal wiring job to supply the LEDs. I nabbed the connectors from a local, mom-and-pop computer shop for a couple bucks. A bit of soldering and some heat-shrink, and all is well.

More on this project later...
6/2/09
I had always suspected that the men in white coats would come for me...
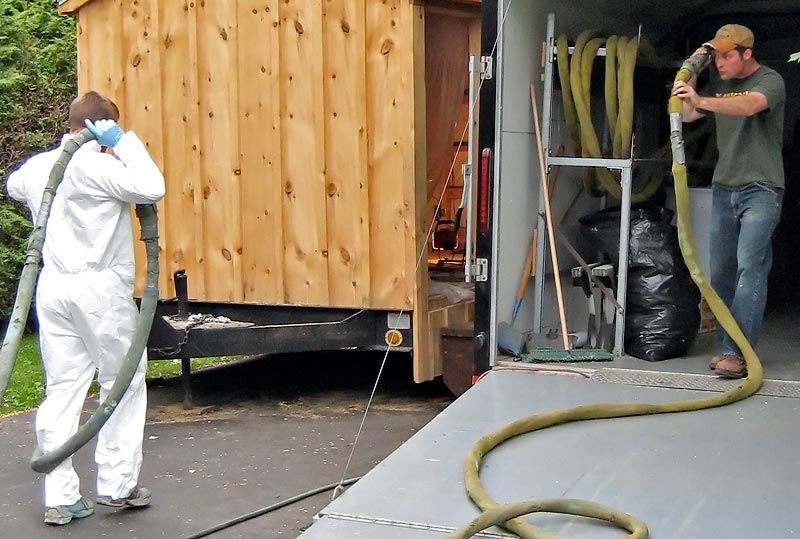
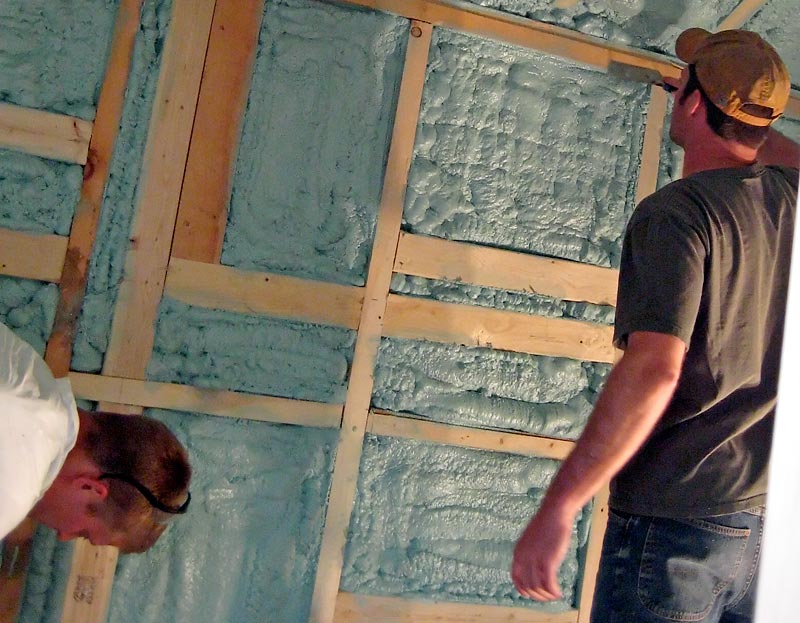
Fortunately this time it was the guys from Northern Sprayfoam Insulation, (315) 826-5200 - who I recommend highly. That’s the owner, Bryan Ozog in the hazmat suit. His price beat the larger companies I called tidily, and I didn’t have to lift a finger. They did all the covering of stray things, trimmed it all perfectly, and cleaned up completely. An excellent, professional job from start to finish. I’m very satisifed.
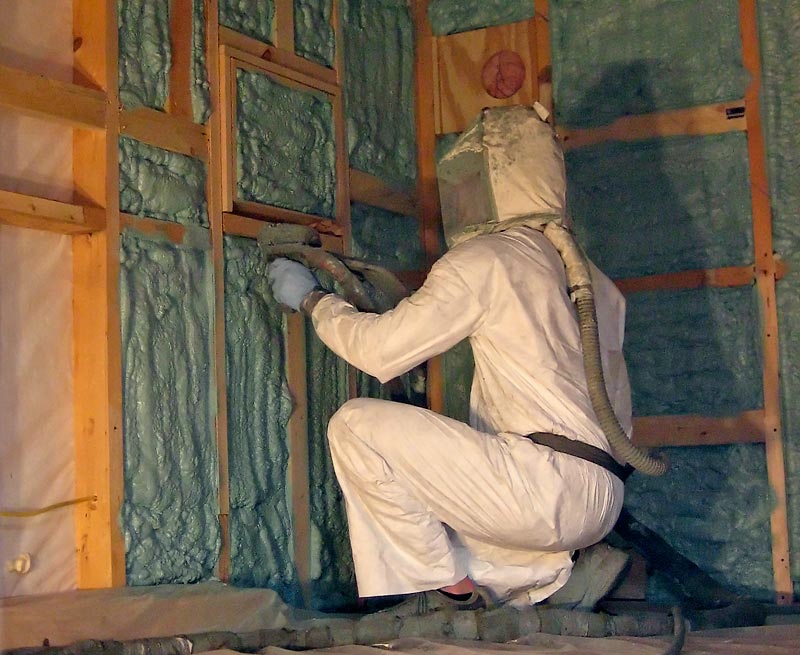
Here’s the requisite action shot of Bryan turning my shed into a walk-in cooler...
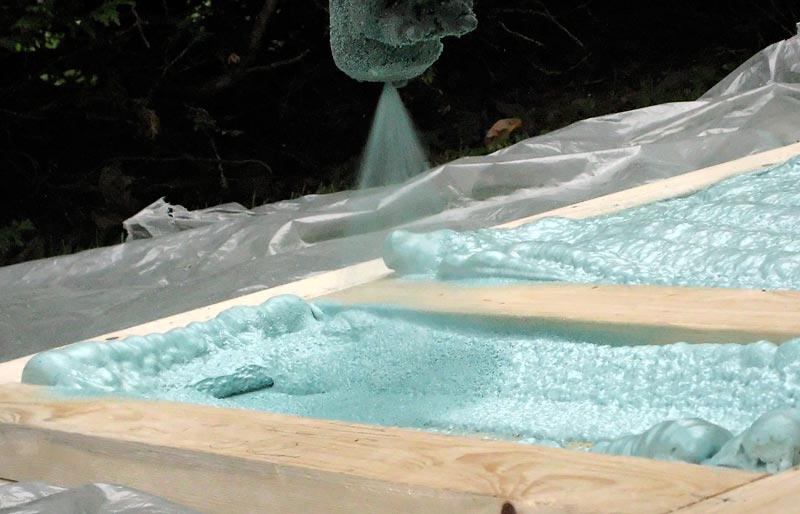
...and a lucky shot of a quick blast from the nozzle as he fills in the spaces in my new door...
...and he and his friend Matt carefully trimming the excess green blobs...
Before this, I was sort of worried about spending what I knew I’d have to to do this job right. Now that it’s done, I don’t really mind the expense. The material itself is amazing. You can literally stand there and rap your knuckles on it and it sounds and feels almost like wood. By doing this, I’ve insured that this building will very likely outlive me. That’s all I can reasonably ask for, I suppose.
Oh, and while they were busily spraying foam, I was finishing the internals on the chandelier. Here it is with LEDs all mounted and bound to posts. It needs to be closed still, and the resin candle-sleeves mounted. In this shot, it’s running off a 9-volt battery which you can see hanging from the cable sticking out of the top.

6/16/09
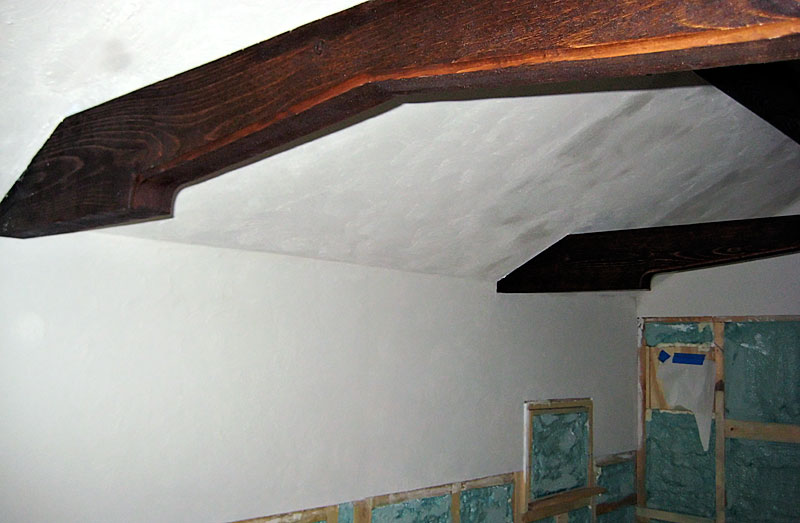
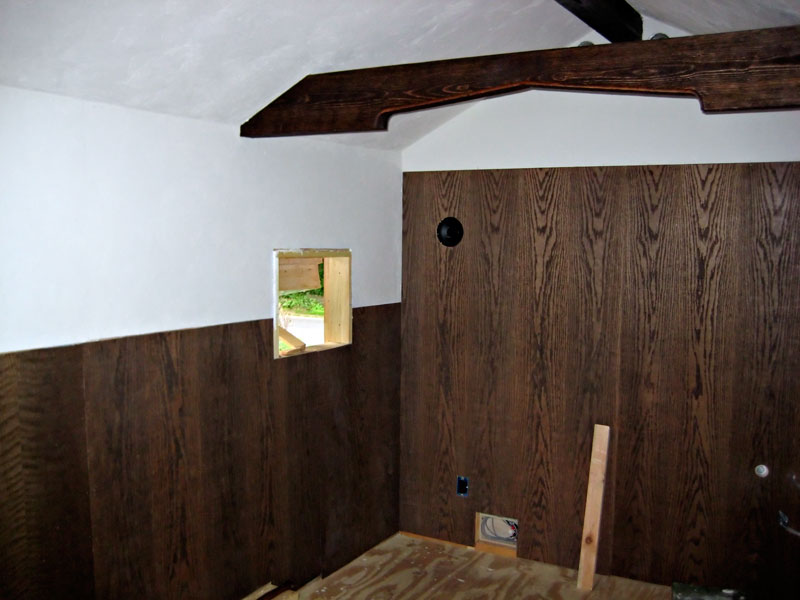
Well, after much ado, and considerable assistance from Morgan Silverlocke and her daughter Wynn, I have a ceiling. It is a truly nifty ceiling, done with an insanely glorpy sand-finish texture paint which the morons at Ace were eventually able to supply me with enough of after more finagling than any group of retail salespeople should ever have to finagle. Those dark bits are spots where the glorp is still drying.
So obviously, when I say ‘ceiling’ the term clearly involves some wall in this case. I’ve patterned it all after a particular dining hall at Cambridge. The bits that still look like the walls of the cave of the mighty sea hag will very soon be covered with nicely stained, oak-veneered plywood.
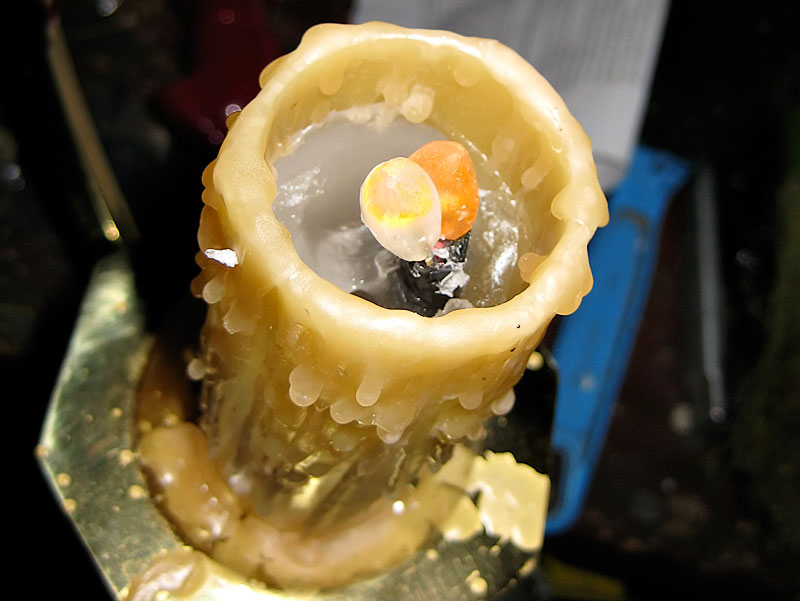
The rainy-day projects continue as well. Here, for example, is a resin candle-sleeve placed onto a bobeche of the chandelier, augmented with a few extra drips of wax, and then filled with parrafin. the LEDs sit at just the height I planned.
...and here is the finished product, all lit up. As Morgan and Wynn can attest, the picture hardly does it justice.

6/25/09
Progress has been slow but steady. This picture is well over a week old at this point. The walls went up remarkably quickly once I decided to take half a day off work to toil alongside my dad the carpenter. Given that the insulation is so thorough, I felt comfortable just using 1/4” oak-veneered lauan. I stained it myself to kinda match the rest of the interior wood. There are a ton of finish nails in the stuff, so hopefully it won’t warp too much. My theory here is that, while lauan isn’t exactly known for strength, it’s got to be stronger than cheesy paneling. Also, paneling just looks cheesy. Being oak veneer, this looks like oak. Sure, the bookmatched grain patterns in the veneer give the game away, but I’m willing to compromise on this point.
Here we see the chandelier hanging neatly from its little strapwork-carved medallion on the central beam. You can’t see it that well, really, but it’s just a small picture frame I picked up at a garage sale for $1. Clearly it was destined to be where it is. Finally there is some part of this sprawling project that’s actually finished!
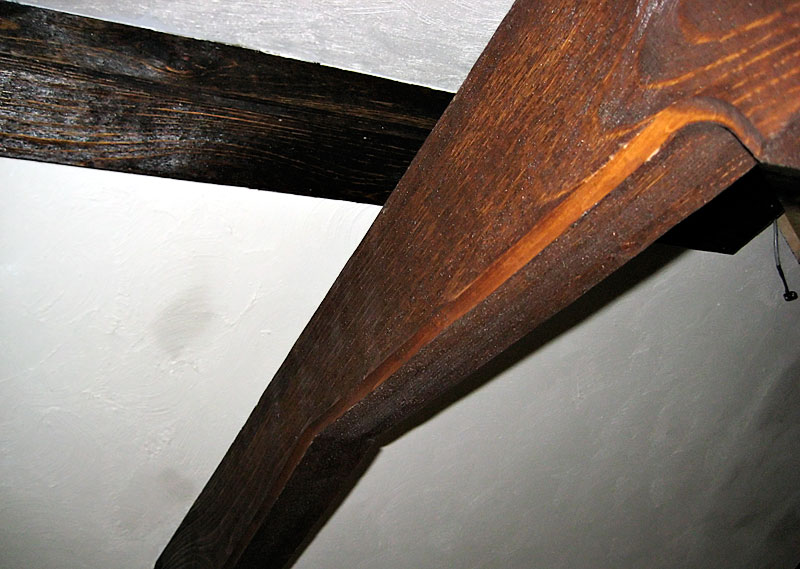
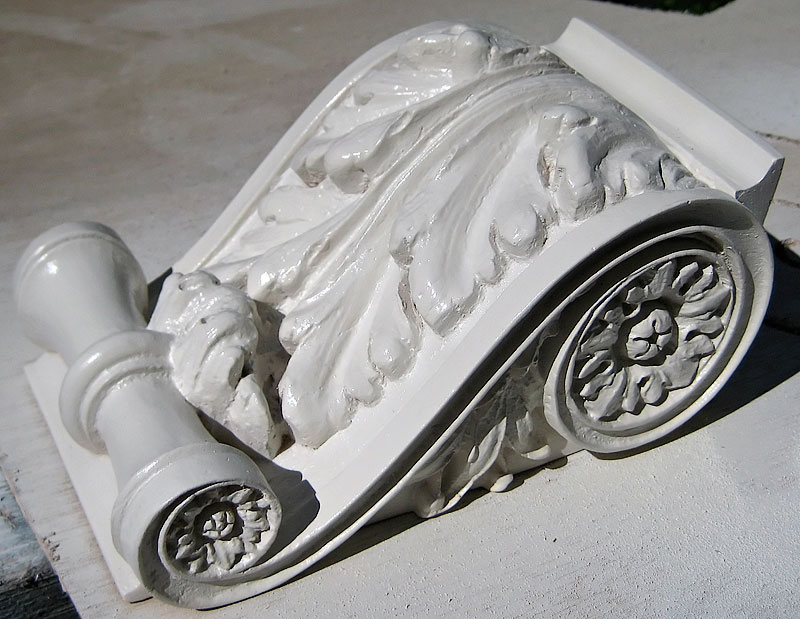
...but that’s the only thing that’s truly finished. Here we see a corbel with a coat of Krylon fusion. Sadly, it’s hideously glossy. Kenhelm has some excellent, water-based, acrylic matte varnish that I’ll be using to tone that down, and give it a more plastery look. These will terminate the arches, at which I’ve only hinted thus far. Hopefully they’ll be up soon and my vision for the interior woodwork will be fully realized.
And finally we have the ultimate in garage sale scrounging - a solid oak floor. Weeks ago, Kenhelm called to inform me that a mutual friend had stopped by a garage sale at which, among other things, was a dizzying quantity of hardwood just lying around under tarps. Wasting no time, I grabbed dad and said “we’re going on a little adventure.” Soon we were seeing it for ourselves. It wasn’t so much a garage sale as an estate sale after the death of an old man who owned a small sawmill. With the help of dad’s shrewd eye (and later, his planer and router) I scored enough oak for around $200 to do a solid floor with planks over 11” wide, and have enough left over (hopefully) to do all the interior trim. This compares to about $350 minimum for even the cheapest, decent-looking laminate I could source from various discounters.
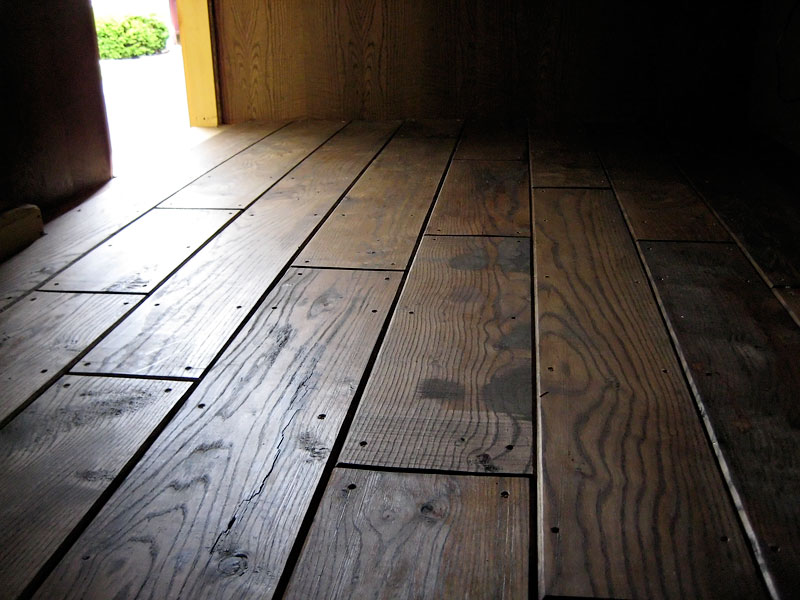
Yes - I found a solid oak floor at a garage sale. The wood may not be A-grade. There are stains here and there, and the occasional saw-marks, and even a big crack, but... damn.
6/25/09
This past weekend was all about trim. Oak was cut. Oak was routed. Oak was stained. Most of it wasn’t mounted, but what was mounted were the arches and the corbels. Here, you can see a badly lit flash photo of one of the corbels in its final position.
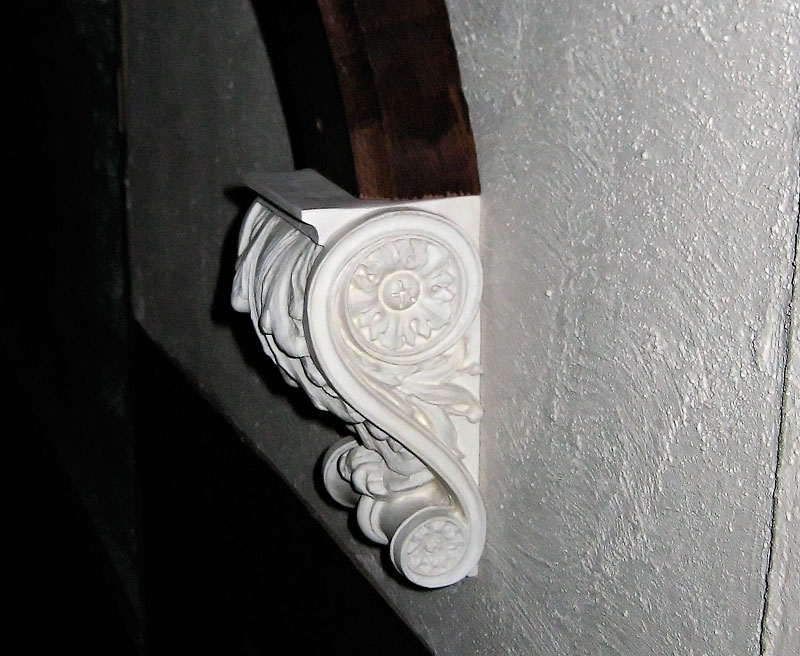
They had no mounting hardware, or holes, or anything. I wound up drilling large holes in the back of them, screwing lags into the wall, filling the holes with epoxy, then smooshing them onto the lags. I literally held each one into position until the epoxy hardened around the screws. The result is that they are going nowhere.
Here’s the full effect looking from front to back. The arches are in position, and match up to the beams remarkably well. In hindsight, I think they’re a little big. Still, I think I have very little to complain about.
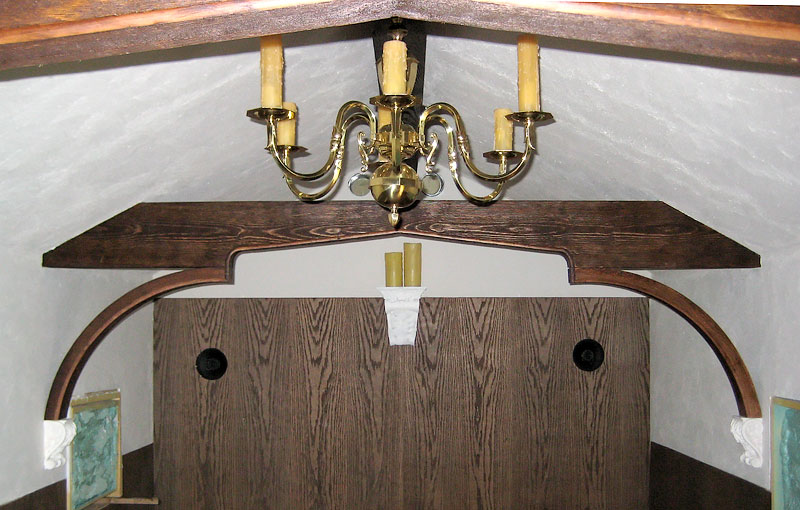
Also note the corbel in the center of the rear wall. There is a matching one on the front wall. They’re a tad cheesy compared to the others, but they make handsome shelves for more electric candles to be placed against the cornices. Besides, more acanthus leaves can only be a good thing.